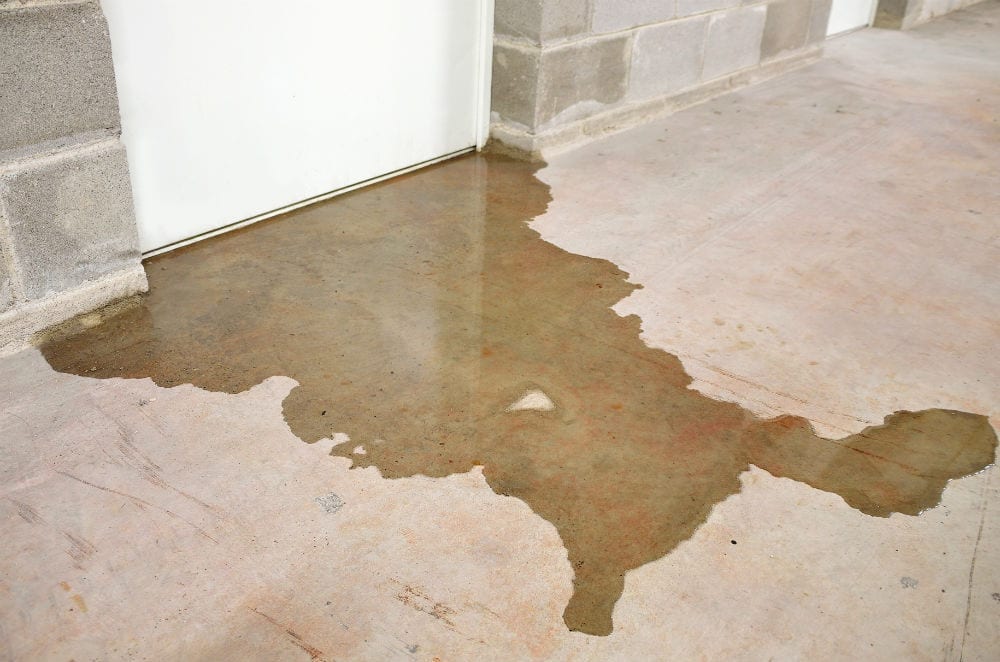
It’s easy to know a basement’s leaking when there’s water running down the walls, or pooling on the floor. It can be more difficult to find the source of the problem though. As a waterproofing contractor in The Bay Area, we are often called in to find the source of a basement leak after the homeowner has tried unsuccessfully to find the source. The following advice is pitched at the level of the novice, or DIY family handyman. Anything more than that and you’re better off to call in a professional contractor in the Mountain View area, before the inconvenience turns to permanent damage.
1. Check the Ceiling First – If you spot any ceiling stains this must be where you look first – before you blame the walls for water running down them (or the floor because of pooling water). There is no substitute for a comprehensive inspection. If there’s a false ceiling under the concrete slab or rafters, you must remove this in its entirety so you can look properly.
2. Inspect the Plumbing – Water has an amazing ability to travel almost anywhere because it’s so slippery. In fact it’s even been known to travel uphill for a short distance because of capillary action. Check every joint on your plumbing and appliances thoroughly. Be aware that metal failure does eventually follow on from vibration.
3. Spot the Efflorescence – Don’t stress, this is just the white power that results from interaction between water, and bricks or concrete. Brush away the powder (it’s harmless although you might like to wear protection), then tape a piece of cooking-foil across the center of the area. Remove the foil a day later and examine it. If there’s moisture where it pressed against the wall you’ve got a basement leak. If not, the efflorescence is caused by humidity in the air.
4. Look for Wall Cracks – Where these exist (and there’s water seeping through them) you’ll generally spot them easily because liquid follows gravity, and runs straight down a smooth wall. If not, abandon your cursory search and divide the area into an imaginary grid. Start by looking at the top, then work your way down progressively to the floor.
5. Check for Peeling Paint – The hydrostatic pressure of water weeping through a wall is powerful enough to lift the paint off. While you’re inspecting for cracks, also check for any sign of mold, because this will only grow where a wall is damp.
6. Finally, Examine the Floor – If you can’t find a leaky ceiling or damp walls, then the water laying on the floor is welling through it on account of hydrostatic pressure from below. Tell-tale clues of the location of this include lifting floor tiles or a squelchy floor covering. If there’s anything standing on the spot that’s made of metal, it will have started rusting too.
What to do About It?
Now that you’ve found the source of the water leak, your next step should be to do something about it. That’s because over time, water seeping through a building degrades the structure permanently. Before you attempt to fix a leak at the point that it appears, remember that the only way to do this properly is at the source. And if that source is on the outside of a buried basement wall, you may be just a little way out of your depth. A qualified waterproofing contractor can conduct an inspection, and lay out several possible solutions for you to examine.


